How To…
General Guide to 3D Printing my RC Airplanes. Please read before printing. Individual informations on a specific plane are in the individual build instructions. I hope these instructions answer all your questions, but if you have more, please contact me here.
Why you schould fly 3D printed Airplanes
-
Better Performance.
It all begins with an idea. Maybe you want to launch a business. Maybe you want to turn a hobby into something more. Or maybe you have a creative project to share with the world. Whatever it is, the way you tell your story online can make all the difference.
-
More Versatility.
It all begins with an idea. Maybe you want to launch a business. Maybe you want to turn a hobby into something more. Or maybe you have a creative project to share with the world. Whatever it is, the way you tell your story online can make all the difference.
-
Lower Cost.
It all begins with an idea. Maybe you want to launch a business. Maybe you want to turn a hobby into something more. Or maybe you have a creative project to share with the world. Whatever it is, the way you tell your story online can make all the difference.
Material
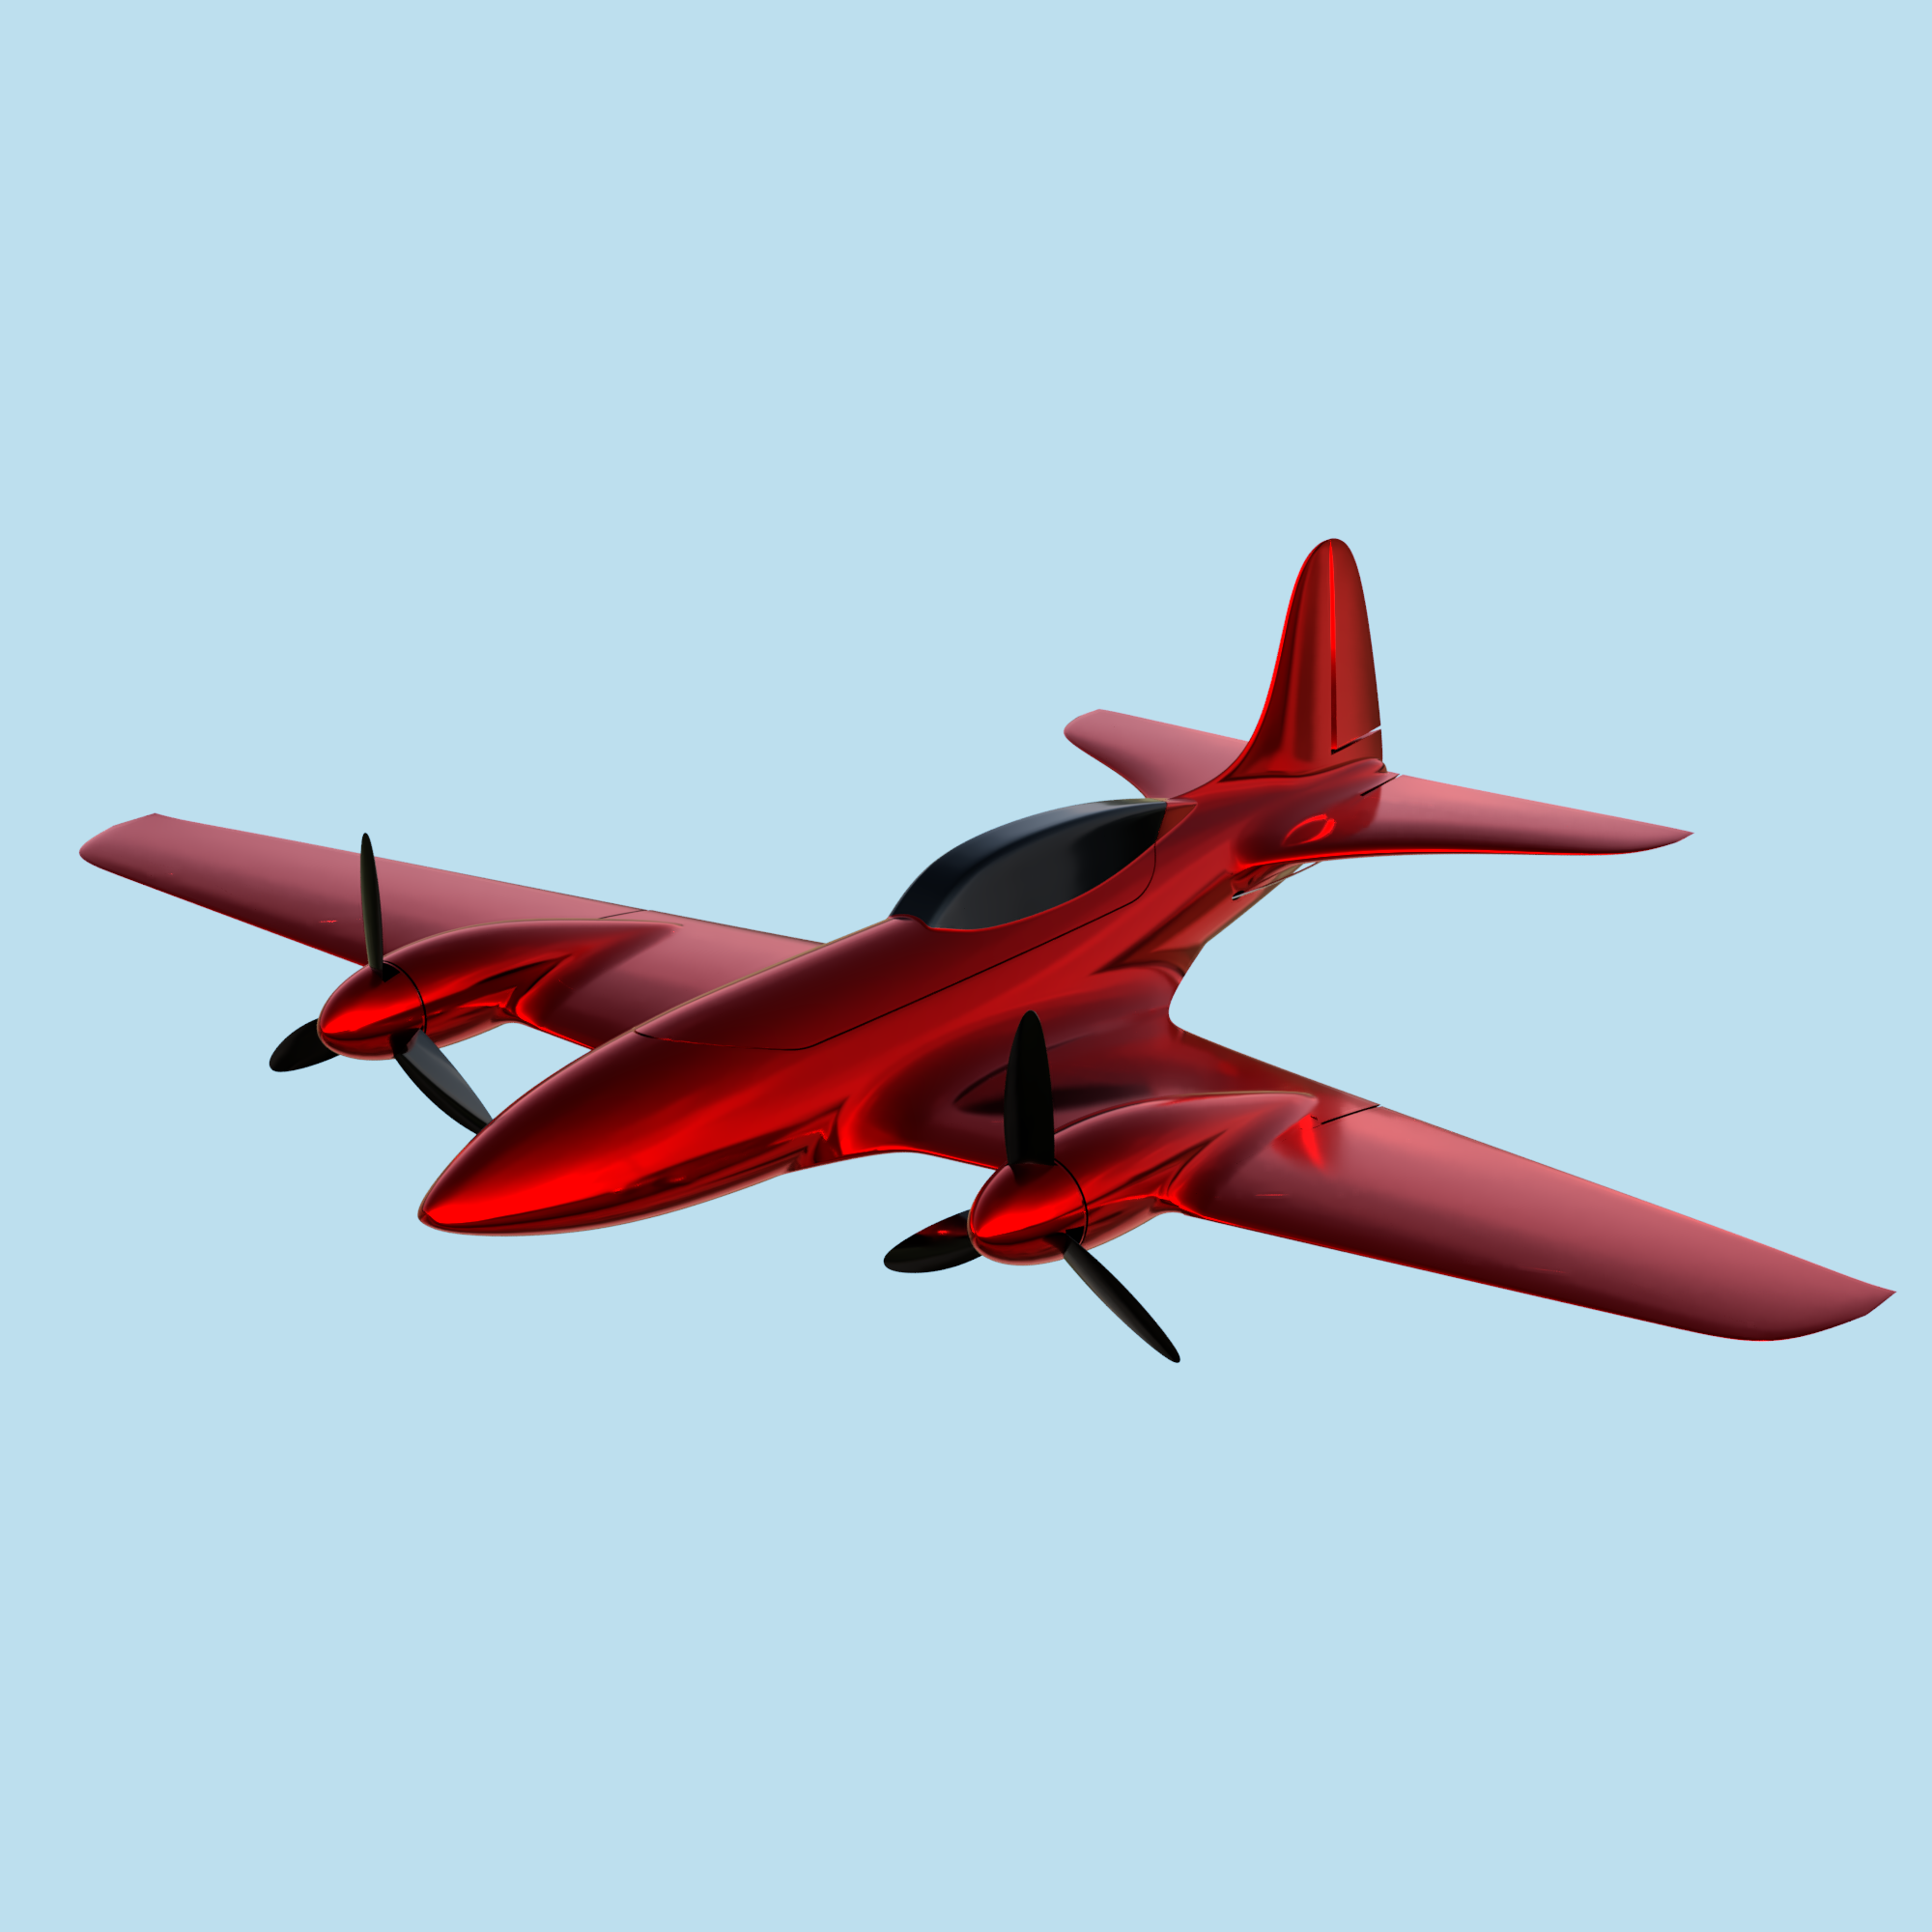
All my planes can be printed completely in PLA, which is the perfect material for printing RC planes due to its high stiffness, low warping tendency, ease of printing and low cost. ABS may have better impact and temperature resistence, but it will very likely warp during printing and make parts like wings almost unusable. It can however be used to print motor mounts because of the higher temperature resistence.
To get different properties, you can replace some PLA parts with lightweight PLA. This new filament type is not as rigid as standard PLA, but expands during printing, which means that you can reduce the flow up to 50% cutting the weight in half. Using lightweight PLA reduces the wing loading, resulting in better slow-flight characteristics.
A standard PLA plane feels more like a carbon fiber plane, while a lightweight PLA plane feels more like a foam plane.
Printer requirements
To print my airplanes, you need an FDM (Filament) 3D printer with a 0.4mm Nozzle. The minimum build volume changes from plane to plane, but if your printer has a build volume of at least 220mm x 220mm x 250mm (311mm x 250mm for delta printers), you will be safe. It doesn´t matter if the extruder is bowden style or direct drive.
If your printer fits the size requirements and can print a good Benchy, you are good to go.

Slicer
In order to get low weight parts, most files consist of many open surfaces. This allows me to control the internal structure very precicely. Unfortunately, Ultimaker Cura is the only slicer I know that can interpret these special files, so slicing will ONLY work in Cura, but in my opinion, it is a great slicer and it is free. On the right, you can see how to activate this “Surface Mode”. Which parts require “Surface Mode” is stated in each individual instruction. Make sure that “Spiralize Outer Contour” is unchecked, otherwise you might have build plate adhesion issues.
All parts are already oriented the right way on the build plate, but they might not be in the center, especially on larger printers because of the .3MF file format.
I recommend to print each part individually to get the best results.
Troubleshooting


Assemly
-
![]()
Dream it.
It all begins with an idea. Maybe you want to launch a business. Maybe you want to turn a hobby into something more.
-
![]()
Build it.
It all begins with an idea. Maybe you want to launch a business. Maybe you want to turn a hobby into something more.
-
![]()
Grow it.
It all begins with an idea. Maybe you want to launch a business. Maybe you want to turn a hobby into something more.
-
![]()
Sell it.
It all begins with an idea. Maybe you want to launch a business. Maybe you want to turn a hobby into something more.